Installation & Configuration
Get up and running with F1 Sensor in just a few minutes.
This guide walks you through installation and configuration in Home Assistant, step by step.
Most users should install the latest stable release. If you want to test a beta release or follow active development builds, read Release Channels before installing.
How it works
- Install the integration
- Add it to Home Assistant
- Select which sensors you want to use
Step 1 - Install the integration
Recommended, install via HACS
The easiest way to install and keep F1 Sensor up to date.
Option A, My Home Assistant
Click the button below to automatically add the repository to HACS.

Option B, Directly in HACS
- Open HACS in Home Assistant
- Search for F1 Sensor
- Click Download
When installed through HACS, you will automatically receive update notifications when new releases are available.
HACS installs the stable release by default. To test a beta version, open F1 Sensor in HACS, use Redownload, enable Show beta versions if needed, and select the latest beta release.
For the difference between stable, beta, and dev builds, see Release Channels.
Manual installation
Use this option if you do not use HACS.
- Download the latest release
https://github.com/Nicxe/f1_sensor/releases
Downloadf1_sensor.zip - Extract the archive and copy the
f1_sensorfolder to
config/custom_components/ - Restart Home Assistant
Step 2 - Add the integration to Home Assistant
Once the installation is complete, the integration must be added.

or
- Go to Settings > Devices & Services
- Click Add Integration in the bottom right
- Select F1 Sensor
- Follow the on screen instructions
Step 3 - Select which sensors to create
During configuration, you choose exactly which data you want to include.
For example, you can choose to only create sensors for the next race and weather, without calendar or standings.
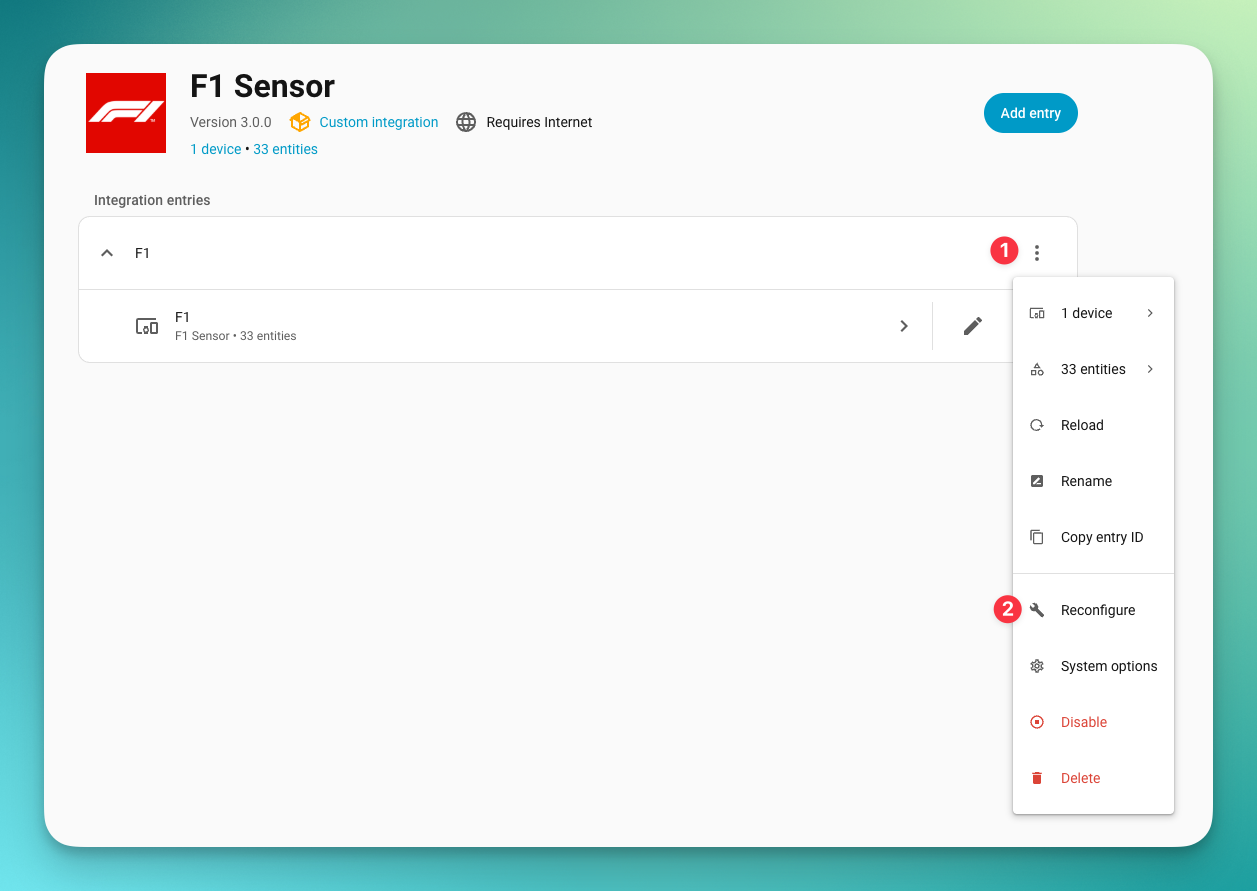
You can always change this later via
Settings > Devices & Services > F1 Sensor > Reconfigure
Done
Once configuration is complete, the sensors are created automatically and are ready to be used in dashboards, automations, and templates.
The Live Data Cards are bundled with F1 Sensor. After Home Assistant restarts, the integration registers the dashboard card resource automatically, so you do not need to install a separate HACS dashboard repository for the cards.
If you are testing a beta release, continue with Beta Testing so your feedback includes the version, release channel, logs, and affected feature area.